first, the simplest and lowest cost technology is to remove excessive internal water sources (huMidifier, cooking) in the basement and ventilate other sources (clothes dryer, bathroom). Secondly, if condensation is a problem in summer, do not directly ventilate the basement with warm and humid air. It is recommended to use an air Conditioning system or a dry heat exchanger for ventilation
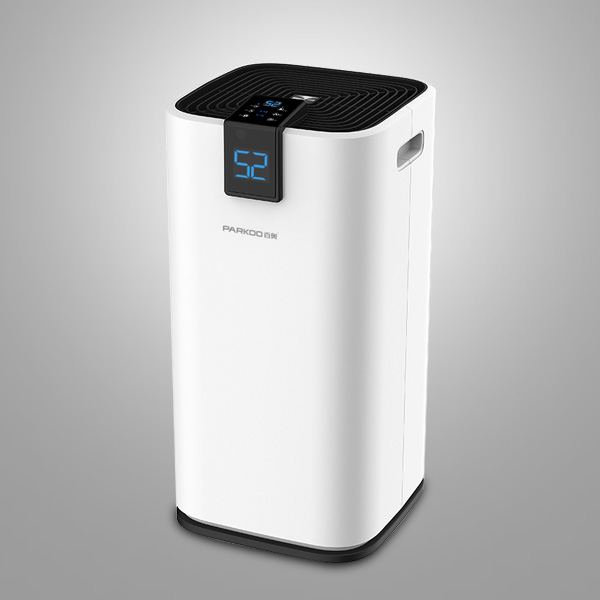
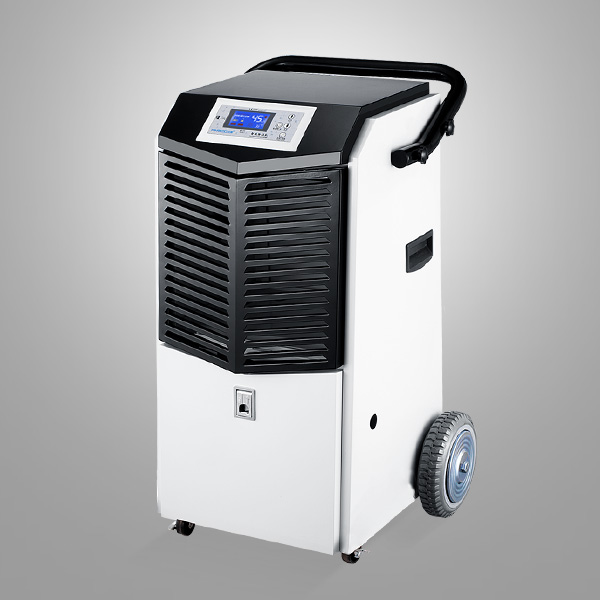
DeHumidification can be used as a means to reduce basement humidity and odor symptoms, but it is not a permanent or compLete solution. In fact, if the Dehumidifier is used in the basement with moisture problem, it may Cause greater damage. by drying the air in the basement, moisture will be sucked into the basement more quickly, causing the concrete to Weather and peel off, and fuRTher damaging the interior decoration
Using internal membranes or coatings to solve substrate moisture problems is very attractive. It is cheaper than drainage Systems, and in some cases it seems to have been working for a while. However, water still exists, and ultimately these systems deteriorate or simply move the water to another channel and enter the basement The recommended method after removing internal moisture sources is to evaluate the grooves, sewers, and surface grading around the house. These should be Corrected first to solve the problem. Then, if the issue of moisture still exists, please Carry out internal or external drainage systems. all of these technologies are described in the remaining parts of this Publication. If your goal is to complete a basement with water issues, it is recommended to address water issues first
It is recommended to include an Active sub plate pressure reducing system for washing rock layers under the slab. This can suck in moist air from below the slab and help reduce the amount of water vapor entering the home through the openings in the slab. It also Helps control radon and other Soil gas. Openings and open connections to soil outside the foundation and below the slab should be closed and sealed
Control the internal moisture source.
If external ventilation is not required in summer, please do not use it Correct grading, drainage ditches, and sewer systems provide internal or external drainage systemsNotes:
The Dehumidifier can help reduce the symptoms of humidity and odor, but it cannot solve the problem The lack of a membrane or coating that provides drainage internally Usually does not solve the problem in the long term Insulated Walls must be dry. Carpets must be kept warm and dry before use
Method 1: Install Appropriate sinks and sewers and grade them correctly
A large amount of groundwater problems can be solved by treating rainwater and surface drainage, using grooves and sewers with Extenders or splash plates to Keep water away from the foundation. Tilting from the slope of the house may require hauling to the site, which is very Important. It should be carried out before Installing any low-level drainage system, as the above modifications may solve the problem. even if a drainage system is required, it is necessary to remove as many water sources as possible
Method 2: External drainage system
Installing an external drainage system on existing buildings is the most expensive and effective water control method. This requires excavating the area around the foundation and rebuilding it similar to the installation of a new house. It also requires the excavation of shrubs and other obstacles around the house Usually, in addition to any repairs to the structure, waterproofing and insulation are installed simultaneously. traditional external drainage systems use free drainage in backfilling. Drainage tiles can be placed next to or on top of the foundation. The installation of the drainage pipe is satisfactory. At least 12 inches of coarse aggregate should be placed around the drainage bricks
Free drainage membrane or plate
Dragging pea rock or sand to the site for backfilling may be expensive. On the contrary, drainage pads can be placed on the foundation wall and then backfilled with any soil on site. The drain must have a free flow path through the perforated drain below
Discharge to a sink
All external drainage systems must be discharged to a collection tank that can be extracted. The sink must have a sealed, childproof cover
Method 3: Internal drainage channels above concrete slabs
In most cases, when water enters the basement, an internal drainage system is installed. The simplest and cheapest method is to adhere drainage channels to walls and floors. Collect water and place another channel at the top of the board, then drain it into the bottom of the trough through a trap. The sink should have a sealed, childproof cover. This system is most suitable for concrete walls with cracks. It cannot solve the problem in brick and stone walls, as water remains in the blocky rock core at the floor level, and the water level can only drop to the top of the slab. Using this method, water will not be completely removed from the space. The result is that humidity, mold, and mold are still a problem. The system cannot discharge groundwater from below the floor
Method 4: Internal drainage channel at the edge of the board
Another technique is to place the drainage channel at the bottom of the wall at the top of the foundation. This requires removal along the edge of the slab and subsequent replacement of concrete. The drainage channel is connected to the drainage pipe leading to the water collection tank. The sink should have a sealed, childproof cover. This method is effective for concrete masonry walls with water problems, as it completely eliminates blocky cores. It is necessary to drill holes at the bottom of each core to facilitate drainage. This may require removing more than the minimum amount of concrete, as shown in the figure, to accommodate the drill bit. These systems come in different shapes and prices depending on the Products installed. Due to allowing moisture to penetrate the block core, it is necessary to cover the top and place a vapor delay coating on the internal substrate wall
Method 5: indoor drainage system below the slab
The most effective internal drainage system is a perforated drainage pipe installed inside the perimeter of the footing. This requires the removal and replacement of concrete at the edge of the slab. Drain the drain pipe to a lower level by placing it below the slab. Similar to external systems, the drainage pipe is connected to the water collection tank. The sink should have a sealed, childproof cover. The key component of this method is to place plastic sheets at the bottom of the wall and below the edge of the board. Particleboard is similar to a Small egg box and allows the wall to freely drain into the drainage pipe. It is cheaper than many specialized drainage channel systems. In low permeability soil, the system cannot accept rising groundwater unless There is an accumulation layer below the slab
It is recommended to use this method in combination with the active Soil gas management system connected to the sink and surrounding drainage pipes