A dehuMidifier removes Moisture from the air and reduces the potential for mold and mildew buildup. A dehumidifier can help you Improve the air Quality in your home and reduce condensation buildup. but buying a dehumidifier can be expensive, so if you're looking for an economical option, a homemade dehumidifier is the way to go.
here are the DIY Cooling pad dehumidifiers
The video is of another dehumidifier that dehumidifies by means of a condensing sheet! The principle is similar.
after watching the video, you will know how to make a dehumidifier.
The fan in the video can be replaced by buying a computer CPu fan.
Of course, if you want more Dehumidifying capacity, just zoom in on the paRTs in the video.
It's just that relatively speaking, the power of the cooling pads is also bigger, and requires more Electricity Consumption
Here's an easy dehumidifier DIY for moisture absorber materials
use a power drill to drill holes in the bottom of the plastic bucket (a medium-sized bucket is recommended). The holes must be at least one-quarter inch in diameter (alternatively, a screwdriver or other sharp object can be used to drill the holes). Be sure to wear gloves and goggles when using sharp tools.
Making a Homemade Dehumidifier step 1
Place a piece of netting or Chicken wire in the bottom of the bucket to cover the holes. Determine the size by placing the net under the bottom of the bucket and using a marker to trace the margins on the net. cut the net with a tin snip.
Making a Homemade Dehumidifier Step 2
Fill a bucket with rock salt (the type used to melt ice) and place it on a stand. The stand needs to be unaffected by drying or corrosion in the salt and be porous to allow moisture to drip off. The perfect stand is not the same as a bunch of plastic milk crates. The height of the stand depends on the amount of space available.
Making a Homemade Dehumidifier Step 3
Place another bucket under the stand to capture the moisture. this bucket is just a net with no holes inside to Prevent the captured moisture from seeping into the ground.
Making a Homemade Dehumidifier Step 4
provide your homemade dehumidifier with a few Days of normal operation. Industrial-strength salt should draw the water in and release it, allowing the water to drip out of the top of the bucket to the bottom.
Provide moisture directly to the drum system with the help of a box fan to increase Efficiency. This is not necessary in Smaller spaces but Helps in collecting moisture in larger rooms.
Homemade dehumidifier compLete
Check the effectiveness of your dehumidifier by testing the relative humidity of the area with a hygrometer. Your homemade dehumidifier can work more effectively if you increase its size.
Here, I'm sending you a drawing of the dehumidifier structure that I drew myself! It's ugly, but it's intuitive
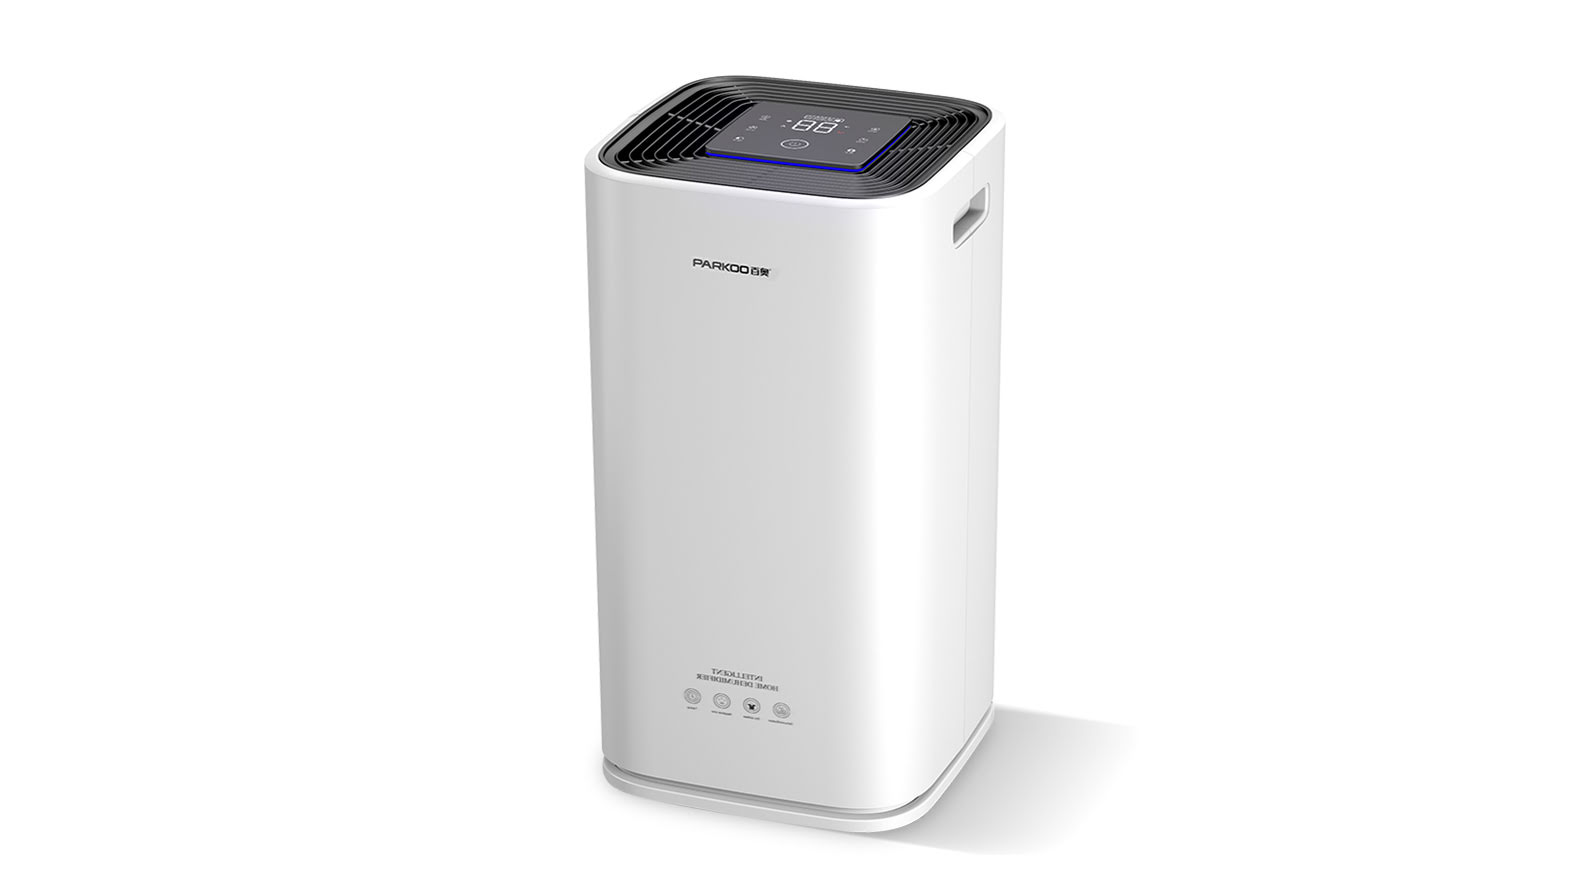
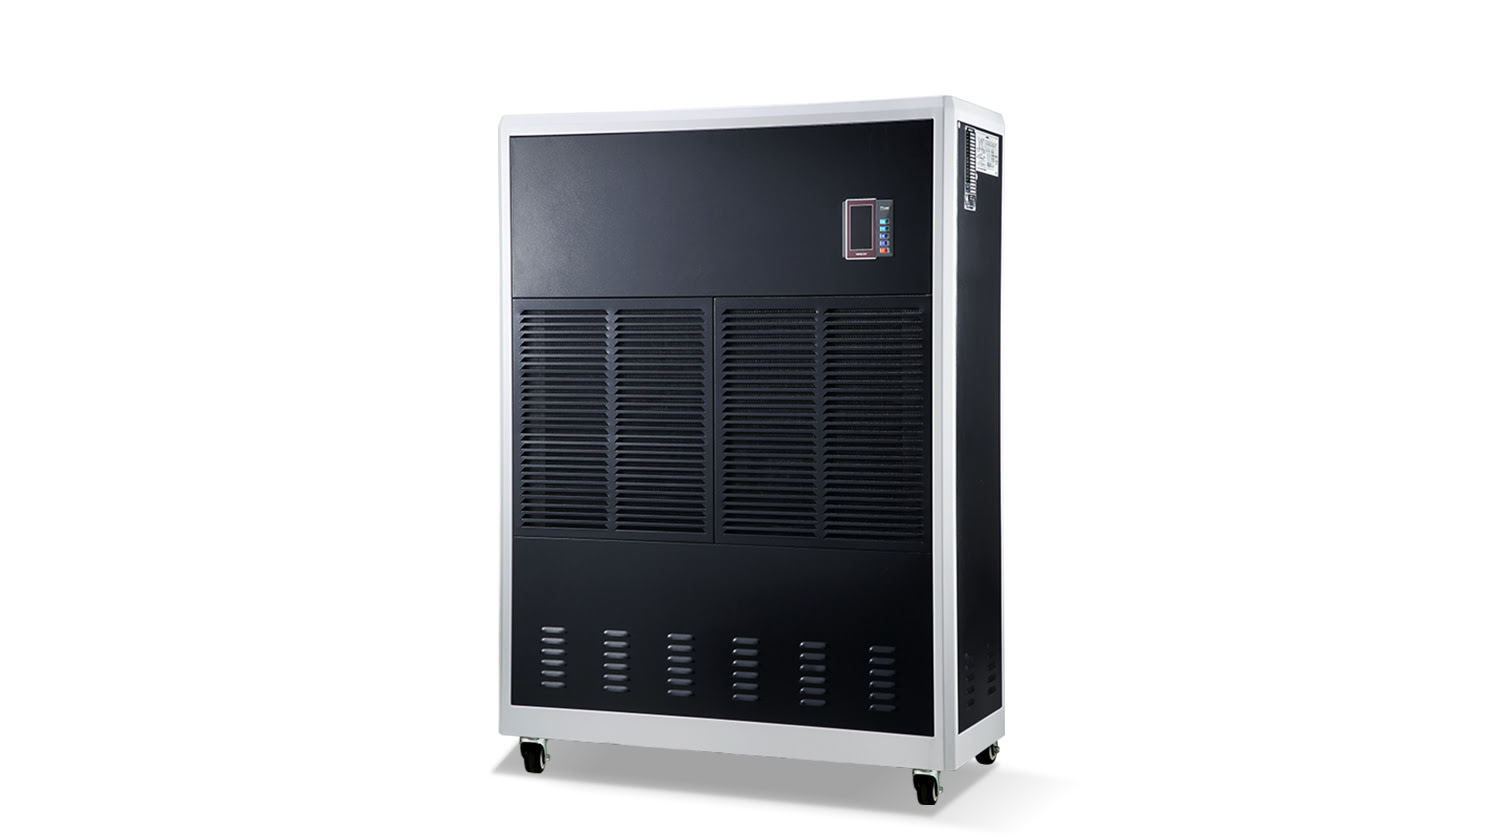
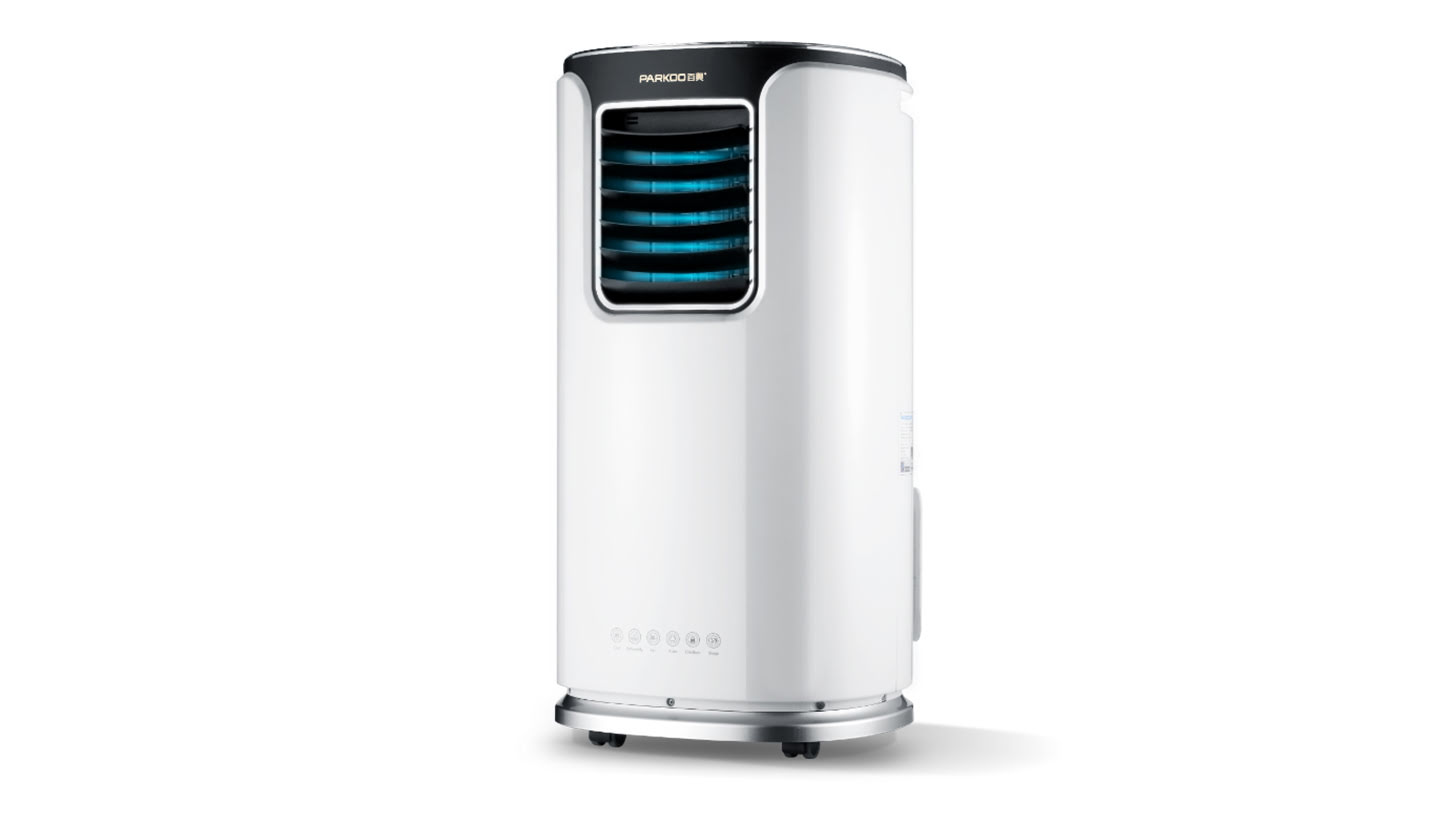
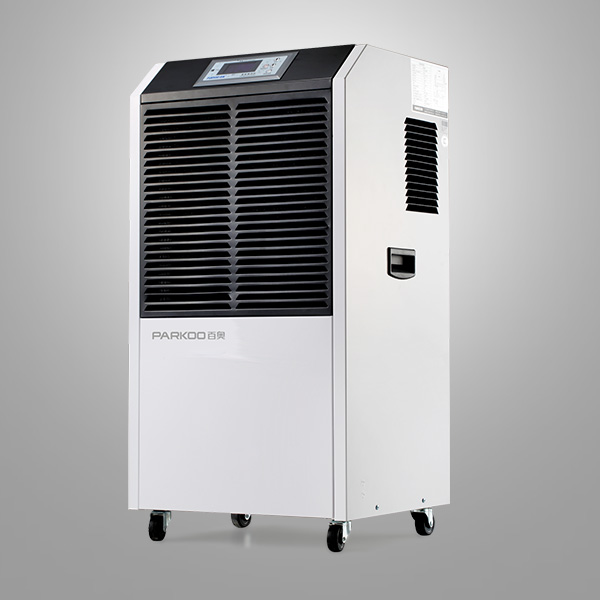
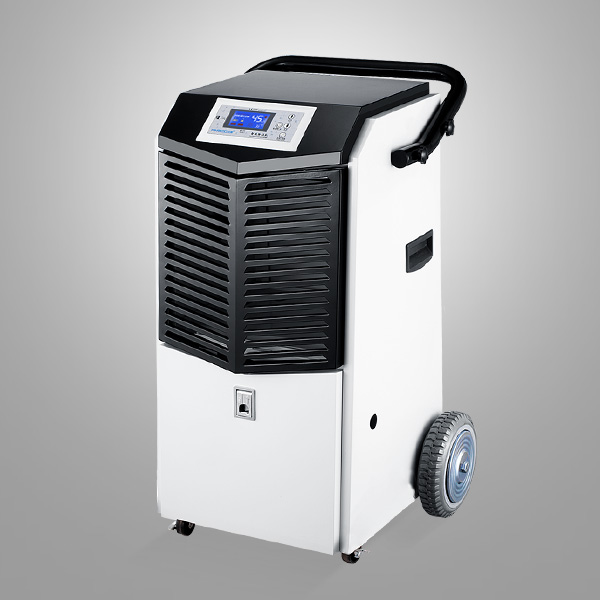
Of course, if the hassle is too much and safety is a concern (after all, homemade housing molds aren't a perfect fit) consider purchasing a small home dehumidifier!
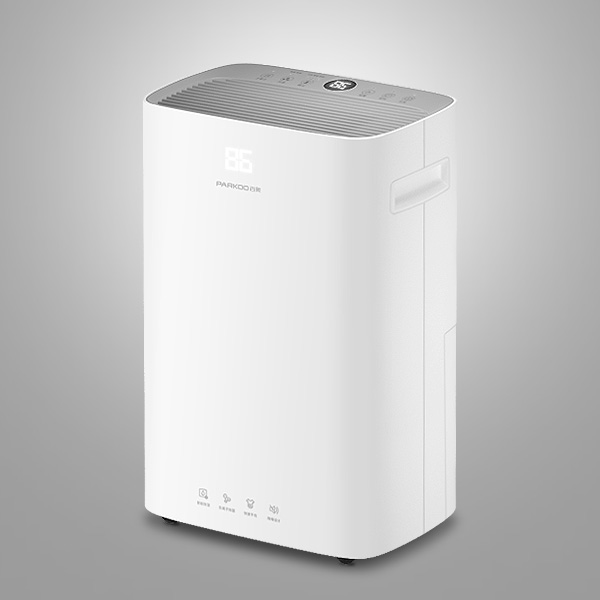
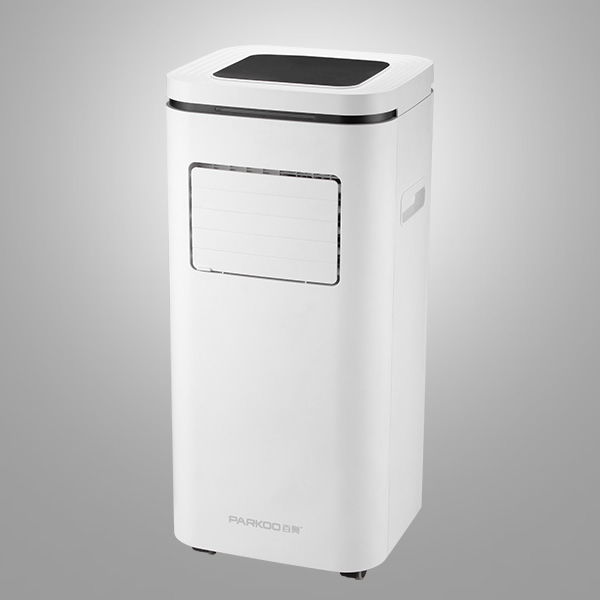
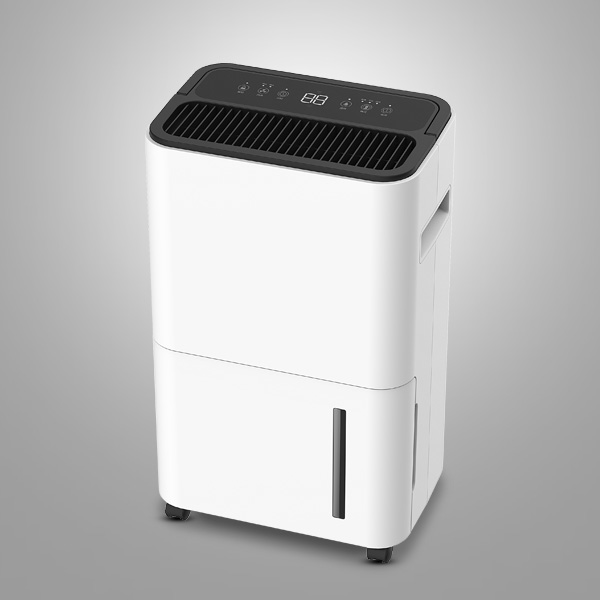
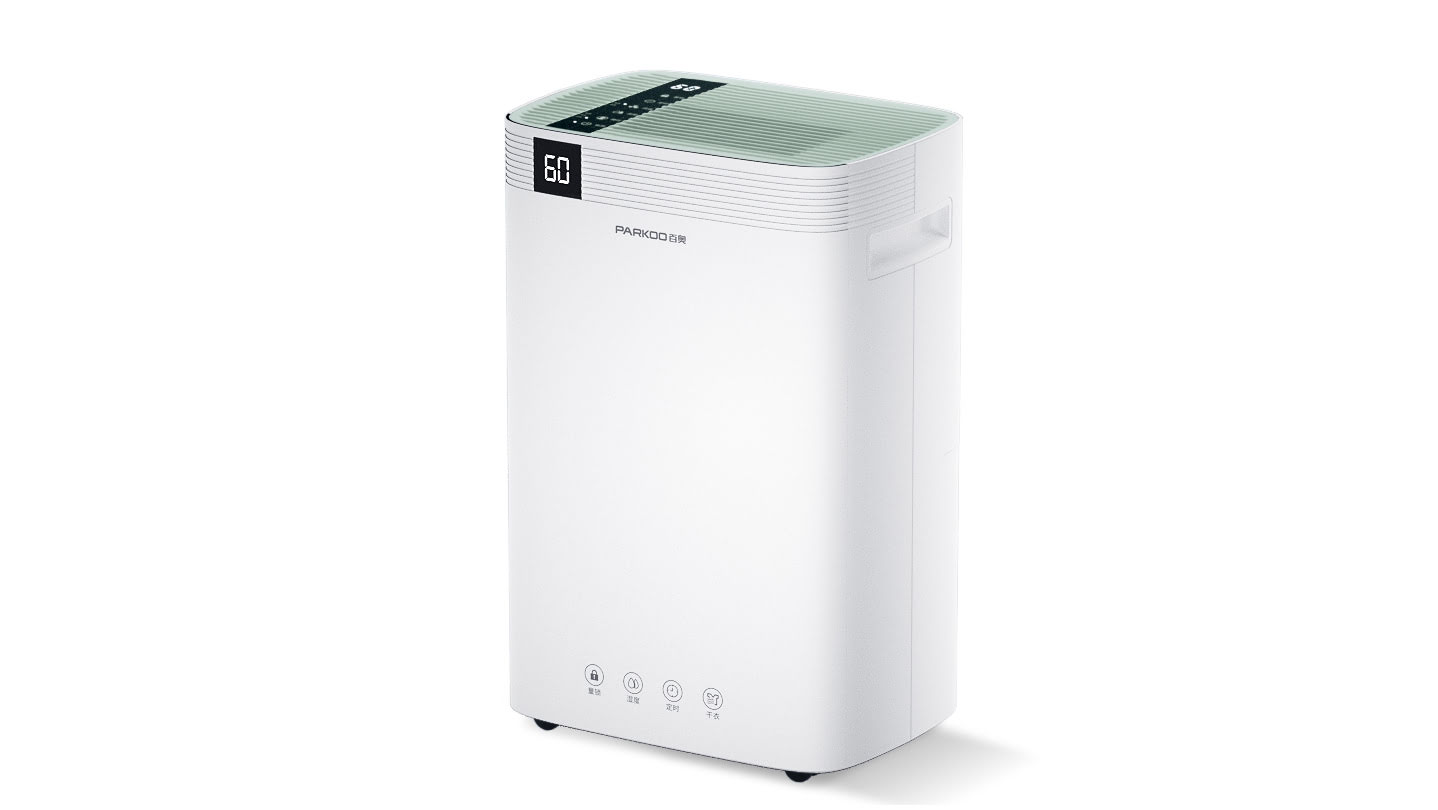
This PARKOO HD165A dehumidifier is 16L/day with 1.8L water tank, 3 years warranty on the Whole machine and 6 years on the compressor. It is claimed to have 1 KWh of electricity for 4 hours, 35dB noise, negative ion purification, and Comes with a remote control for ease of use.
Bao (parkOO) HD165A dehumidifier home dehumidifier mute bedroom dry clothes purification air dehumidifier dehumidifier dryer
Grab a link [Jingdong]: https://u.jd.com/qAwkq0
In fact, the calculation comes, the cost of DIY is not much different from the purchase! If you meet the merchant to do activities, it is more cost-effective!